![20160610_104851[1]](http://armoury.co.za/wp-content/uploads/2016/06/20160610_1048511-e1465552829120.jpg)
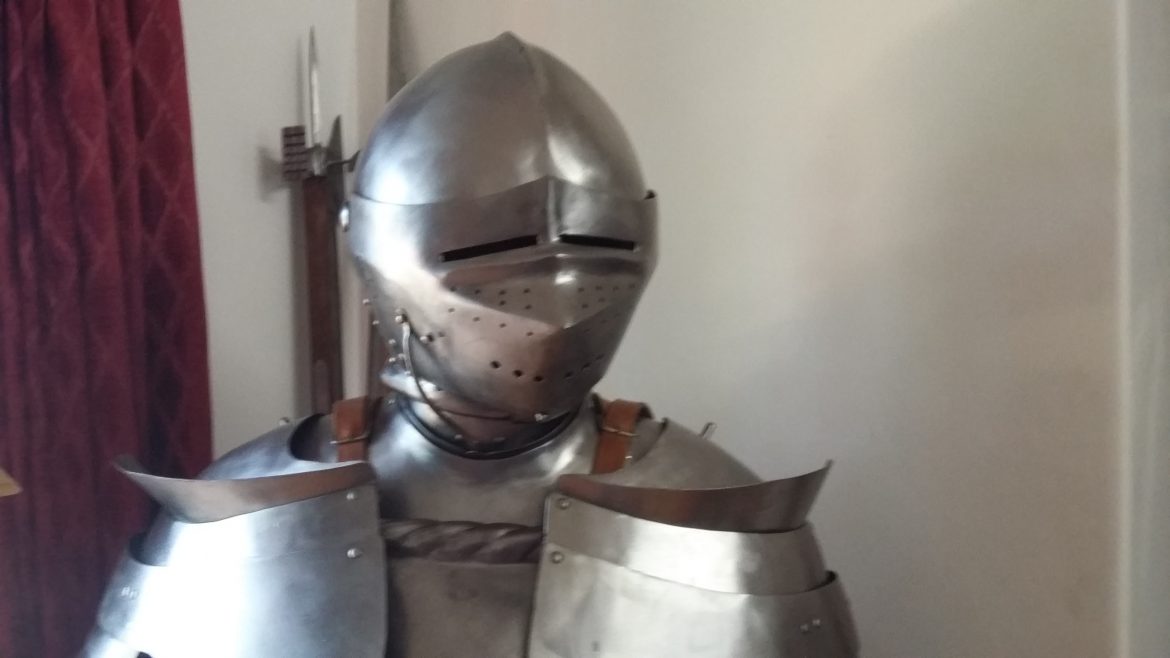
Figure 1: “Bob”, my proto-Maximilian harness, looks down across our lounge
Why? Because I then need to explain to the prospective armourer that he/she has a lot to learn, and it’s not as simple as many people make out. It’s easy enough to make armour that looks okay, but it is a lot hard to make armour on a historical pattern that is useable and effective. Indeed, most people end up with a version of transitional (1350-1400) armour, with a coat-of-plates or maille for the chest, simple legs and arms, and a great helm on the head. There’s nothing wrong with such an arrangement, but it’s a step down from the full harnesses we see in the manuscripts. Making proper period armour in a historically correct way takes a lot more planning and some hard work, but most importantly it takes research, an endeavour most prospective armourers seem to ditch in favour of building something that superficially resembles the period piece.
Rather than repeat myself regularly, I’ve decided to provide some guidance for aspiring armourers who want to get their armour historically correct.
Academic resources for the armourer

An intimidating collection of armour at Coburg Veste in Germany (photo- Anja Roberts)
15 years ago, there wasn’t much high level academic information available about armour, so the “let’s build something from a picture” approach was acceptable. However, today we actually know quite a lot about the metallurgy, production and structure of armour. Though some sources are locked away in expensive academic books, others are readily available through open access arrangements. These studies often have access to material the common armourer could only dream of, and the advent of digital photography means that there is a wealth of visual data to accompany the written and scientific observations.
The first thesis I’d like to draw attention to is a 2012 PhD thesis by Nickolas Dupras, entitled “Armourers and their workshops The tools and techniques of late medieval armour production” and made available freely by the University of Leeds here. Dr. Dupras’ thesis is eminently readable, and offers not only academic information on armouring, but a clear and readable introduction to armouring in general. After an introductory chapter, Chapter 2 covers the tools that a period workshop would have used, based on period records and those objects still remaining in the Royal Armouries collection in Leeds. Chapter 3 of his thesis is a well-laid out introduction to the process of armouring, from design to cutting to shaping to planishing to tempering, which I recommend any aspiring armourer read. The meat of the thesis comes in Chapters 4 and 5, which deal with the tool marks left on the inside of the armour, which Dupras uses to reconstruct the methods by which the pieces were made. The observations are paired with experimental work, in which Dupras compares the hammer marks in pieces he made to the historical examples. Along with his observations, Dupras also supplies a massive set of images, 415 figures in total, of which most are photographs of pieces from the Royal Armouries and a few other places.
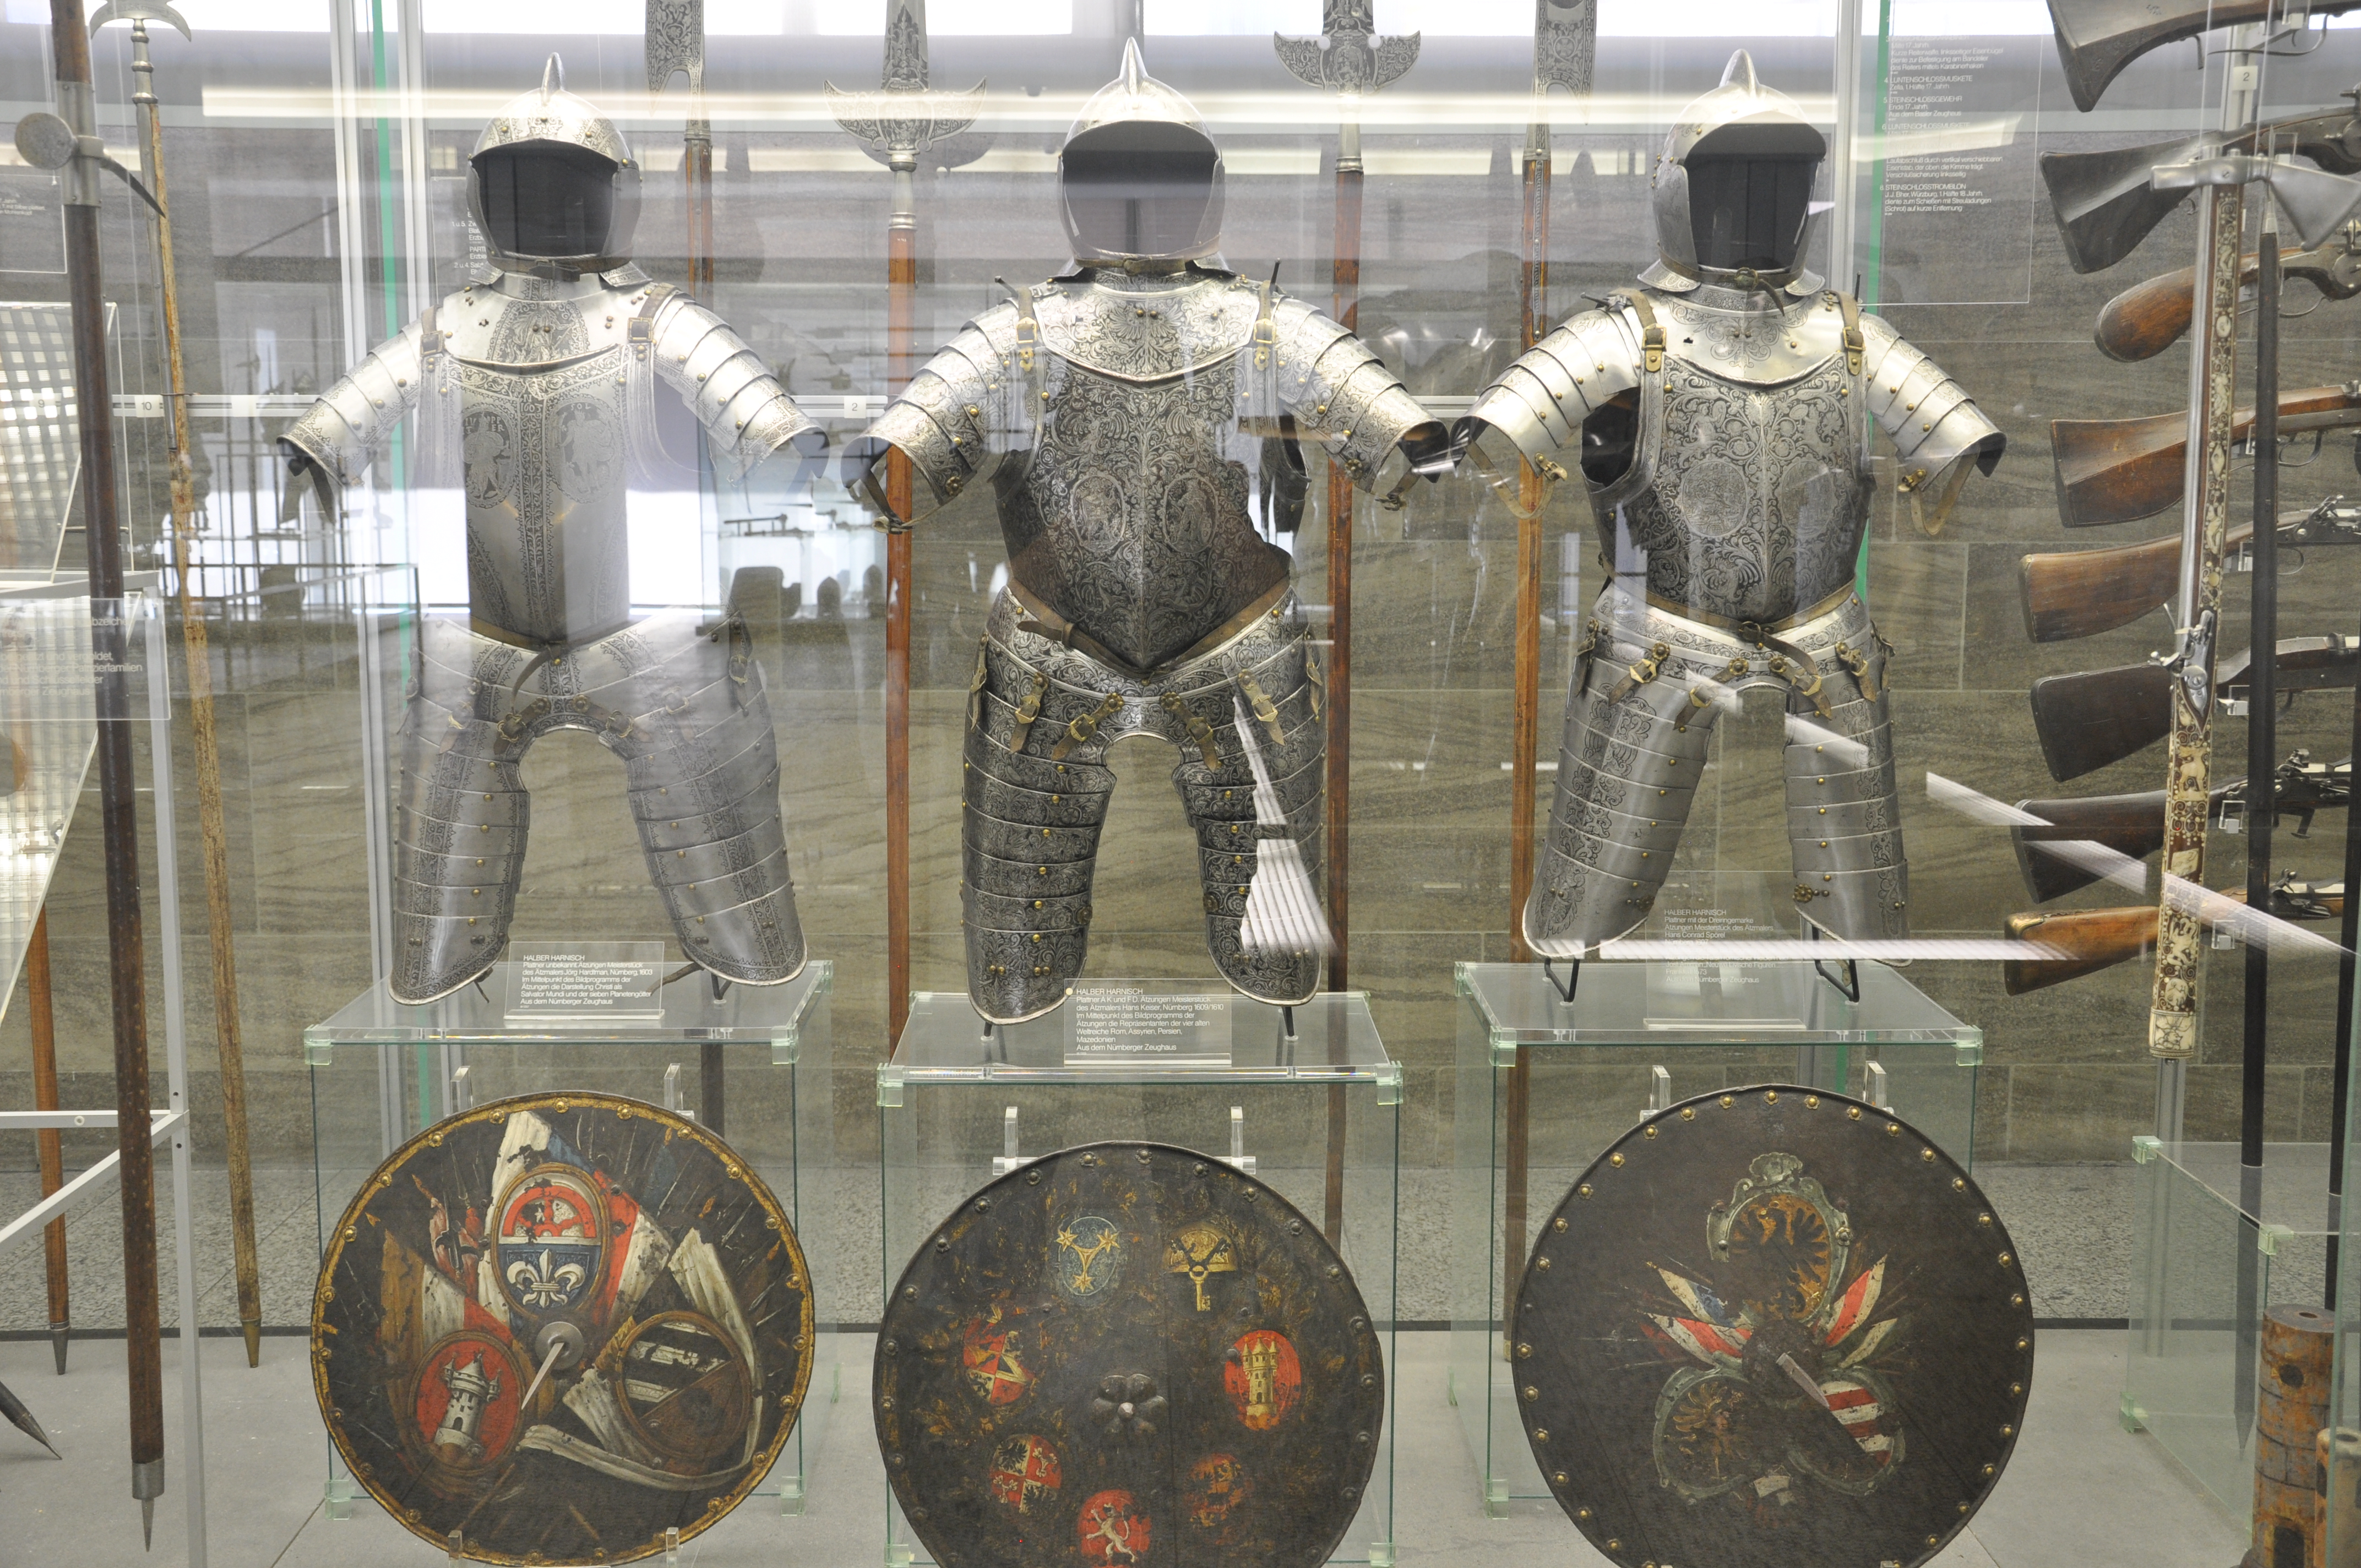
Some 16th century suits in the National Museum in Nuremburg (photo- Anja Roberts)
The Dupras thesis can be paired with a second thesis, by Matthias Goll, entitled “Iron Documents. Interdisciplinary studies on the technology of late medieval european plate armour production between 1350 and 1500” , and made available by the University of Heidelberg here. This thesis is focused more on the forms of armour, but also includes a wealth of information for the armourer. Dr. Goll outdoes Dupras in the number of images- there are literally thousands of images appended to the thesis. Dr. Goll has combed Europe for access to armour collections, looking for continuity between different eras and commonalities. This has allowed him to suggest a new typology for armour, based on the rigging and arrangement of arm, leg and chest harnesses. Though this is fascinating work, for the armourer the gold is the details. Goll provides thicknesses for various pieces of armour, showing that armour is generally a lot thinner than people expect. Similarly, details on strapping and rivets are useful, as are many of the observations on where armour has been repaired or renovated, and which portions are actually authentic.
Another source, which is unfortunately not commonly available, is Alan Williams’ “The Knight and the Blast Furnace”, published by Brill and available for astronomical cost through various online suppliers (see here). This tome, some 1000 pages, focuses on the metallurgy of armour, and reports the results of Williams’ work on armour over many years. From an armouring point of view, this tome shows which pieces of armour were hardened/tempered, what type of tempering was done, what type of steel was used, and how things changed over time. There are also sections on steel production and evaluations of how well armour worked defensively. A must buy? No, because of two things. Firstly, the quality of the photographs suck. For a glossy print book, you’d expect really good quality images, but many of these are really poor, especially the photomicrographs. The choice of pieces to photograph is also perplexing- many of the images are barely related to the text, and there are simply too few photos. Secondly, the layout is poor. I’ve never seen so much wasted space! Each piece of armour is given a whole page, even if the photo and text take up barely a third. I reckon this could have been a 600 page book and commensurately cheaper if it had been laid out properly. So, if you can get hold of a copy, buy it, but don’t save up. If you have access to a university library, borrow it through interlibrary loans, like I did.
One last source to talk about today, is the classic “The Armourer and his Craft” by Charles Ffoulkes, now out of copyright and available freely in print or as a digital scan here. This book may be more than 100 years old, but it is still an excellent resource for the armourer. What an armourer’s workshop looked like, what he used, how armour was constructed- Ffoulkes, a curator at the Tower of London, covered it all. Though less in depth than the three previous sources, this is a valuable read and should be taken seriously by any armourer.
Some summary points from these sources
– Armour was generally a specialist product, not something blacksmiths or cutlers did on the side
– Armour was mass-produced in many cases, with many identical pieces appearing across Europe. Though there are no armourer’s marks on these pieces (and most armour is not marked anyway), these appear to all originate from a single workshop.
– Though the polished outer shell of a piece is effectively useless for reconstructing the process of armouring, the interior of armour has numerous marks which allow us to reconstruct the way armour was actually made.
– Most armour was raised, not dished, a big difference to how many armourers today attempt to make their pieces
– Most armour was created from thin sheets, often only 1mm thick, which could be cut accurately with a chisel.
– Much armour we still have is at least partially hardened. Though some pieces are only work-hardened, others are completely tempered.
– Armourers themselves used a variety of stakes and hammers for the bulk of their work, before planishing and tempering the final product.
